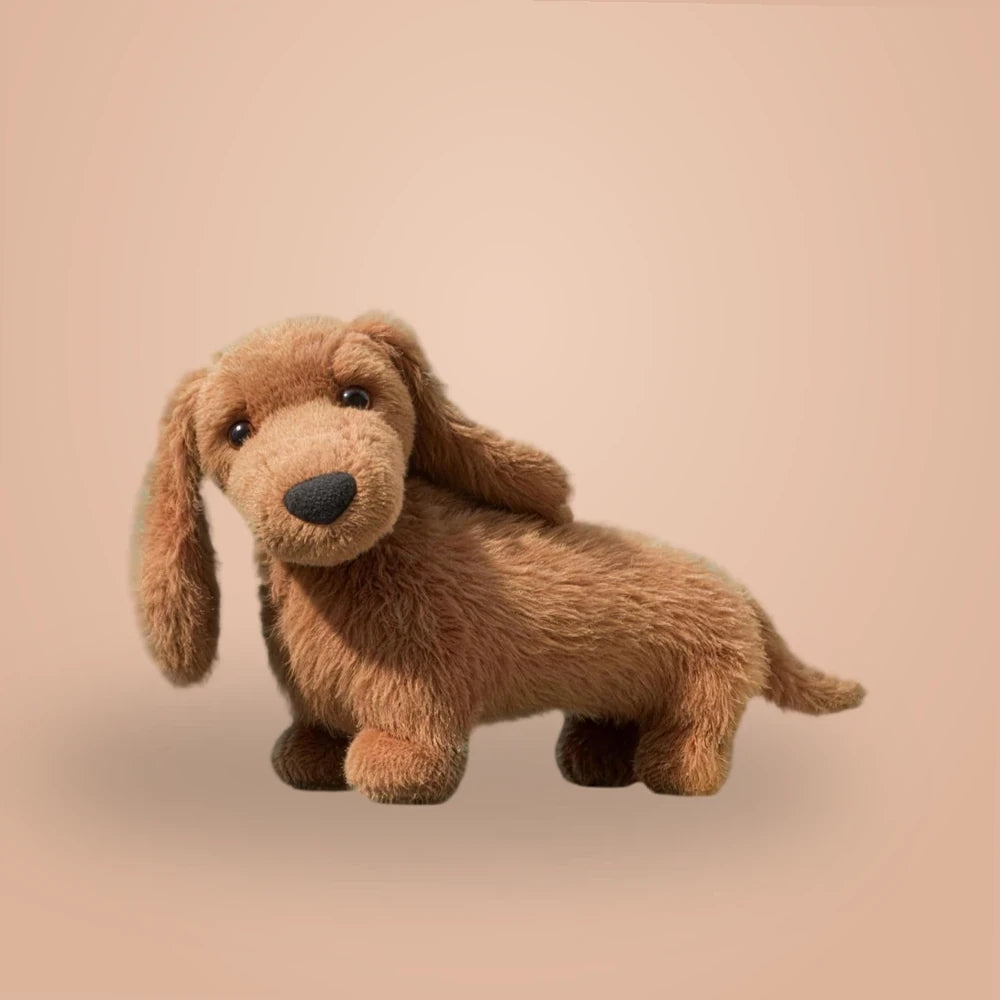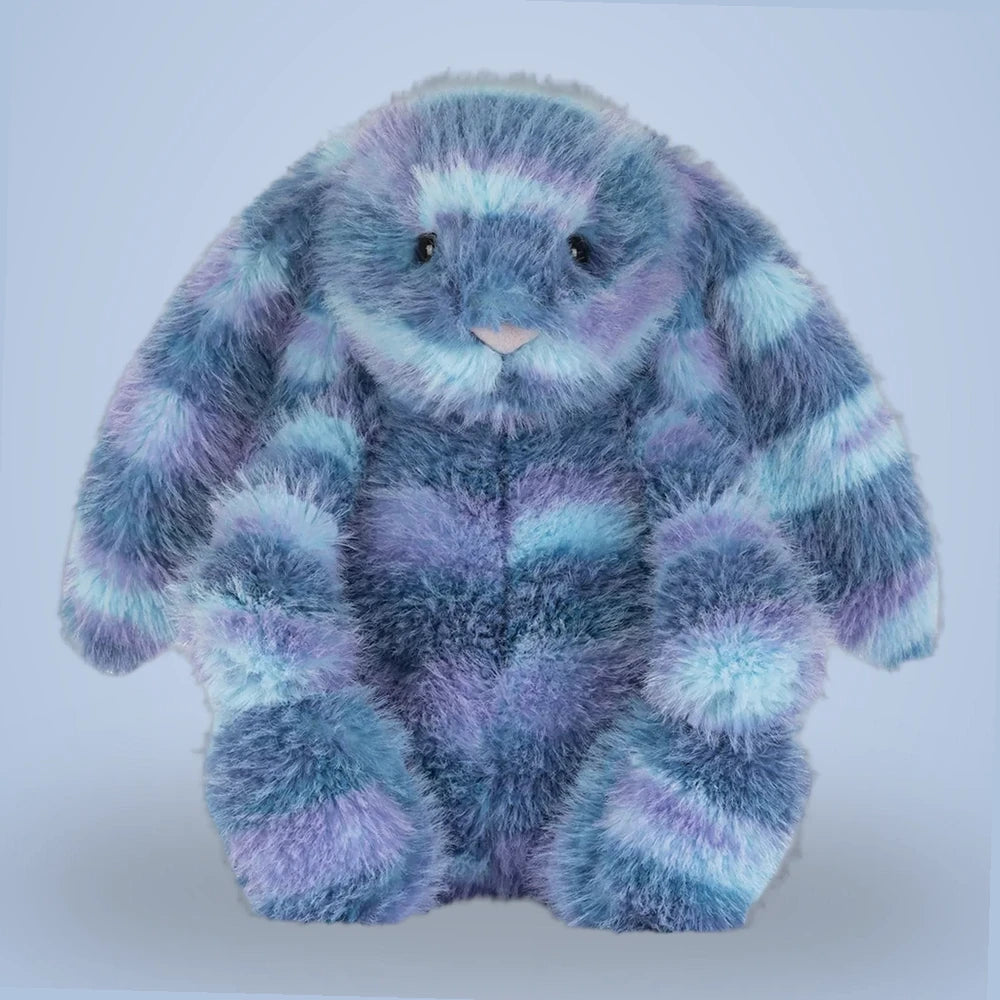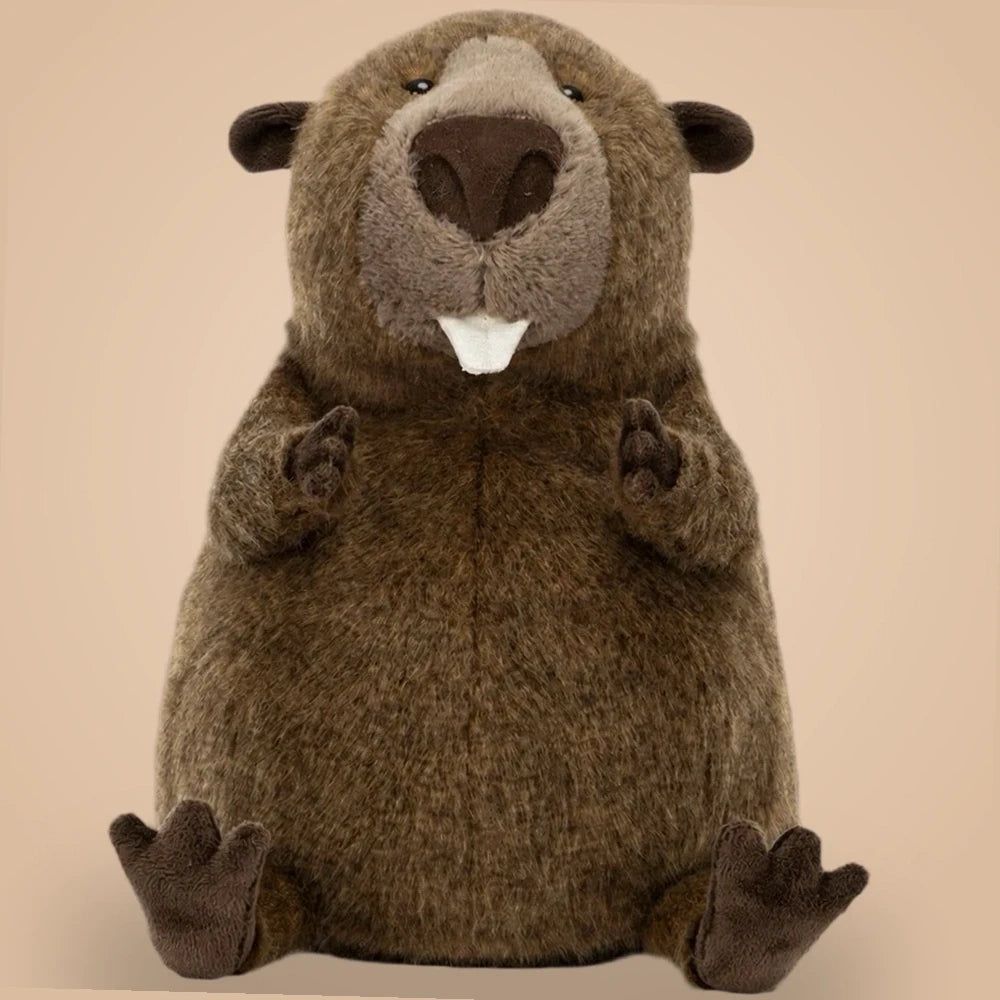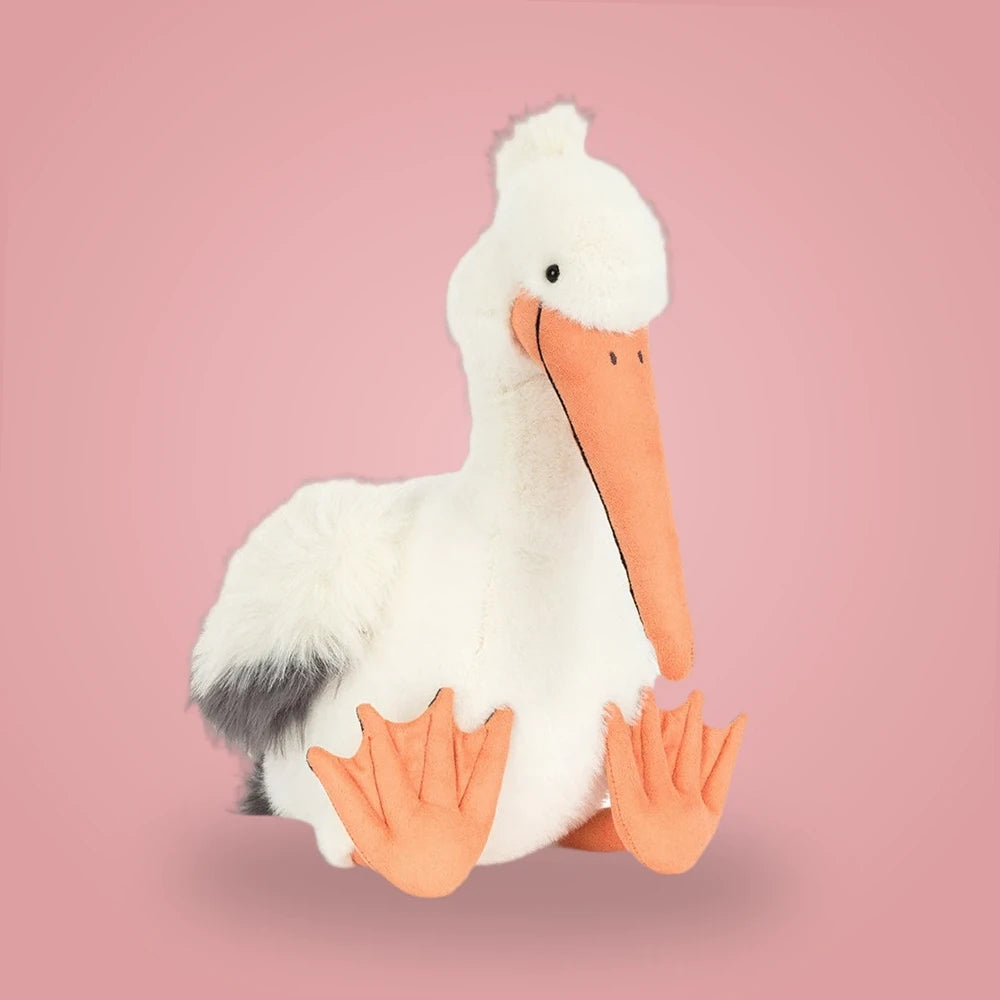
A plush toy rotation system is not about strict rules—it’s about shaping an easier, more enjoyable relationship between children and their stuffed friends. Done well, a rotation keeps beloved toys accessible without overwhelming storage, reduces daily cleanup friction, and makes each toy feel special again when it returns from the ‘resting shelf.’ Below I walk through a practical plan you can adapt to available space, the number of toys, and family rhythms.
Before deciding which toys move in and out, work through a few simple goals: reduce visible clutter, set a realistic cleaning cadence, and maintain variety so children don’t lose interest. This article focuses narrowly on creating and maintaining the rotation rather than teaching play techniques. Expect checklists, common mistakes to avoid, an actionable small example for a one-shelf, one-bin household, and pointers to related pages like the animal friends collection and care instructions.
Clarify the goals and constraints
Start by writing down three measurable goals for your plush toy rotation—for example: limit out toys to 10 at a time, rotate weekly, and deep-clean each toy every two months. These concrete targets help you make decisions later when a new stuffed animal arrives or when sentimental pressure pushes you to keep everything on display.
Next, list physical constraints: shelf space, number of storage bins, and the laundry schedule. If you have one low shelf, that’s a natural limit; if you have two 12–13" storage bins, use them as the active/retired split. Knowing constraints up front prevents slow creep, where the rotation becomes unmanageable because there wasn’t a clear cap to begin with.
Choose an easy rotation cadence
Pick a cadence that matches your household rhythm. Weekly rotations often work well for preschoolers who quickly tire of a toy, while a monthly cadence suits older children who form longer attachments. The goal is predictability: a child who knows toys change on Sunday morning will anticipate the swap and is less likely to demand constant access.
Make the cadence realistic given your cleaning and storage routine. If you plan to check labels and surface-wash toys before rotating them back into the active group, choose a cadence that allows time for those steps. For families with limited laundry time, a monthly swap keeps cleaning manageable; for those who prefer quick surface wipes, weekly may be fine.
Decide categories and selection criteria
Create simple categories so selections feel intentional. Useful categories include: everyday favorites (comfort), playmates (role-play), educational (letters/numbers), and display-only (delicate or collectible). When rotating, aim to preserve balance—keep at least one comfort toy and one playmate in the active pile to cover typical needs.
Establish selection criteria that help you purge and pick quickly. Criteria could include condition (intact seams, clean), play value (used in the last three months), and size (avoid too many large toys that overwhelm shelves). If a plush fails two criteria—say, it hasn’t been played with and shows wear—put it in a decision box for donation or repair.
Designate specific storage zones
Clear labeling and consistent zones reduce arguments and make maintenance faster. Assign one shelf or clear bin as ‘Active’ and another as ‘Resting.’ Use open shelving for the active group so kids can choose independently; store resting toys in a labeled bin out of sight to keep visual clutter low. Consider a simple sign or picture label on each bin for non-readers.
Think through overflow and seasonality. Reserve a smaller box for seasonal plush—holiday or costume-themed toys that aren’t useful year-round. Having a dedicated seasonal bin keeps those toys from bouncing back into the main rotation simply because they were convenient to grab.
Create a maintenance checklist
A short, repeatable checklist keeps the rotation from falling apart. Example checklist for each rotation: 1) Remove active toys and inspect labels; 2) Launder or surface-clean according to the manufacturer label; 3) Repair loose seams or remove hazards; 4) Restock the active shelf with chosen replacements; 5) Date and store retired toys. Keep the checklist near your storage zones so it’s easy to follow.
Include a quick-damage triage step. If you find loose parts, extra stuffing, or significant staining, decide immediately whether the toy goes to repair or permanent retirement. Documenting the decision—write ‘repair’ on a tag or leave a note in the decision box—prevents toys from languishing in limbo.
Common mistakes and how to avoid them
Mistake: setting an unrealistic cap. People often choose a number that sounds tidy but doesn’t match their storage or the child’s needs. Avoid this by measuring usable space first. Instead of promising ‘no more than 20 plush,’ allocate a specific shelf or bin and count how many fit—this is your real cap.
Mistake: rotating without involving the child at all. Complete parental control can cause resistance and stealth retrieval of retired toys. Solve this by involving the child in a simplified decision—offer two choices to keep and one to retire. That small agency reduces nighttime retrieval and helps the child understand the system.
A small, actionable example
One-shelf, one-bin household: Measure the shelf and find it comfortably holds eight medium-sized plush. Set the active cap at eight. Place a clearly labeled bin under the bed as the resting storage. Establish a monthly cadence, deciding rotations on the first weekend of the month. Inspect each returning toy’s label and spot-clean with a damp cloth if the label allows.
Checklist for that household: 1) Remove toys from shelf; 2) Give child a quick choice between two to remain active; 3) Surface-clean any toy with visible dirt according to the care label; 4) Repair or retire damaged pieces; 5) Refill shelf to eight. That system can be executed in about 20–30 minutes and keeps the visible area tidy while honoring favorites.
Practical tools, labels and visual cues
Use clear plastic bins for resting toys so adults can quickly see contents without opening everything. For the active area, low-access open shelving that a child can reach encourages independence. Simple tags—color dots for categories, a laminated rotation calendar on the wall—make the process intuitive and reduce questions during swaps.
Consider a small whiteboard or calendar for rotation reminders. If you share care tasks with a partner or older child, write the next rotation date and the cleaning responsibility on the board. In small spaces, collapseable fabric bins that tuck under the shelf keep retired toys out of sight but accessible for the next swap.
When to re-evaluate the system
Plan a quarterly review to check whether the rotation still fits changing needs—new siblings, a growth spurt in play preferences, or a move may require a different cap or cadence. During the review, look at play patterns. If certain toys never re-enter the rotation, consider donating them instead of keeping them in storage indefinitely.
If a child shows stress around rotation—persistent grief or nighttime retrieval—slow the cadence or adjust selection rules to keep more comfort items accessible. The rotation should be flexible; its purpose is to make daily life easier, not to create conflict. If you need more resources on choosing stuffed animals, see the animal friends collection and for cleaning and label guidance check the care page.
Explore the details before choosing
Take a closer look at Animal Friends, review our plush and clothing care guidance, or ask about specifications and availability before making an order request.