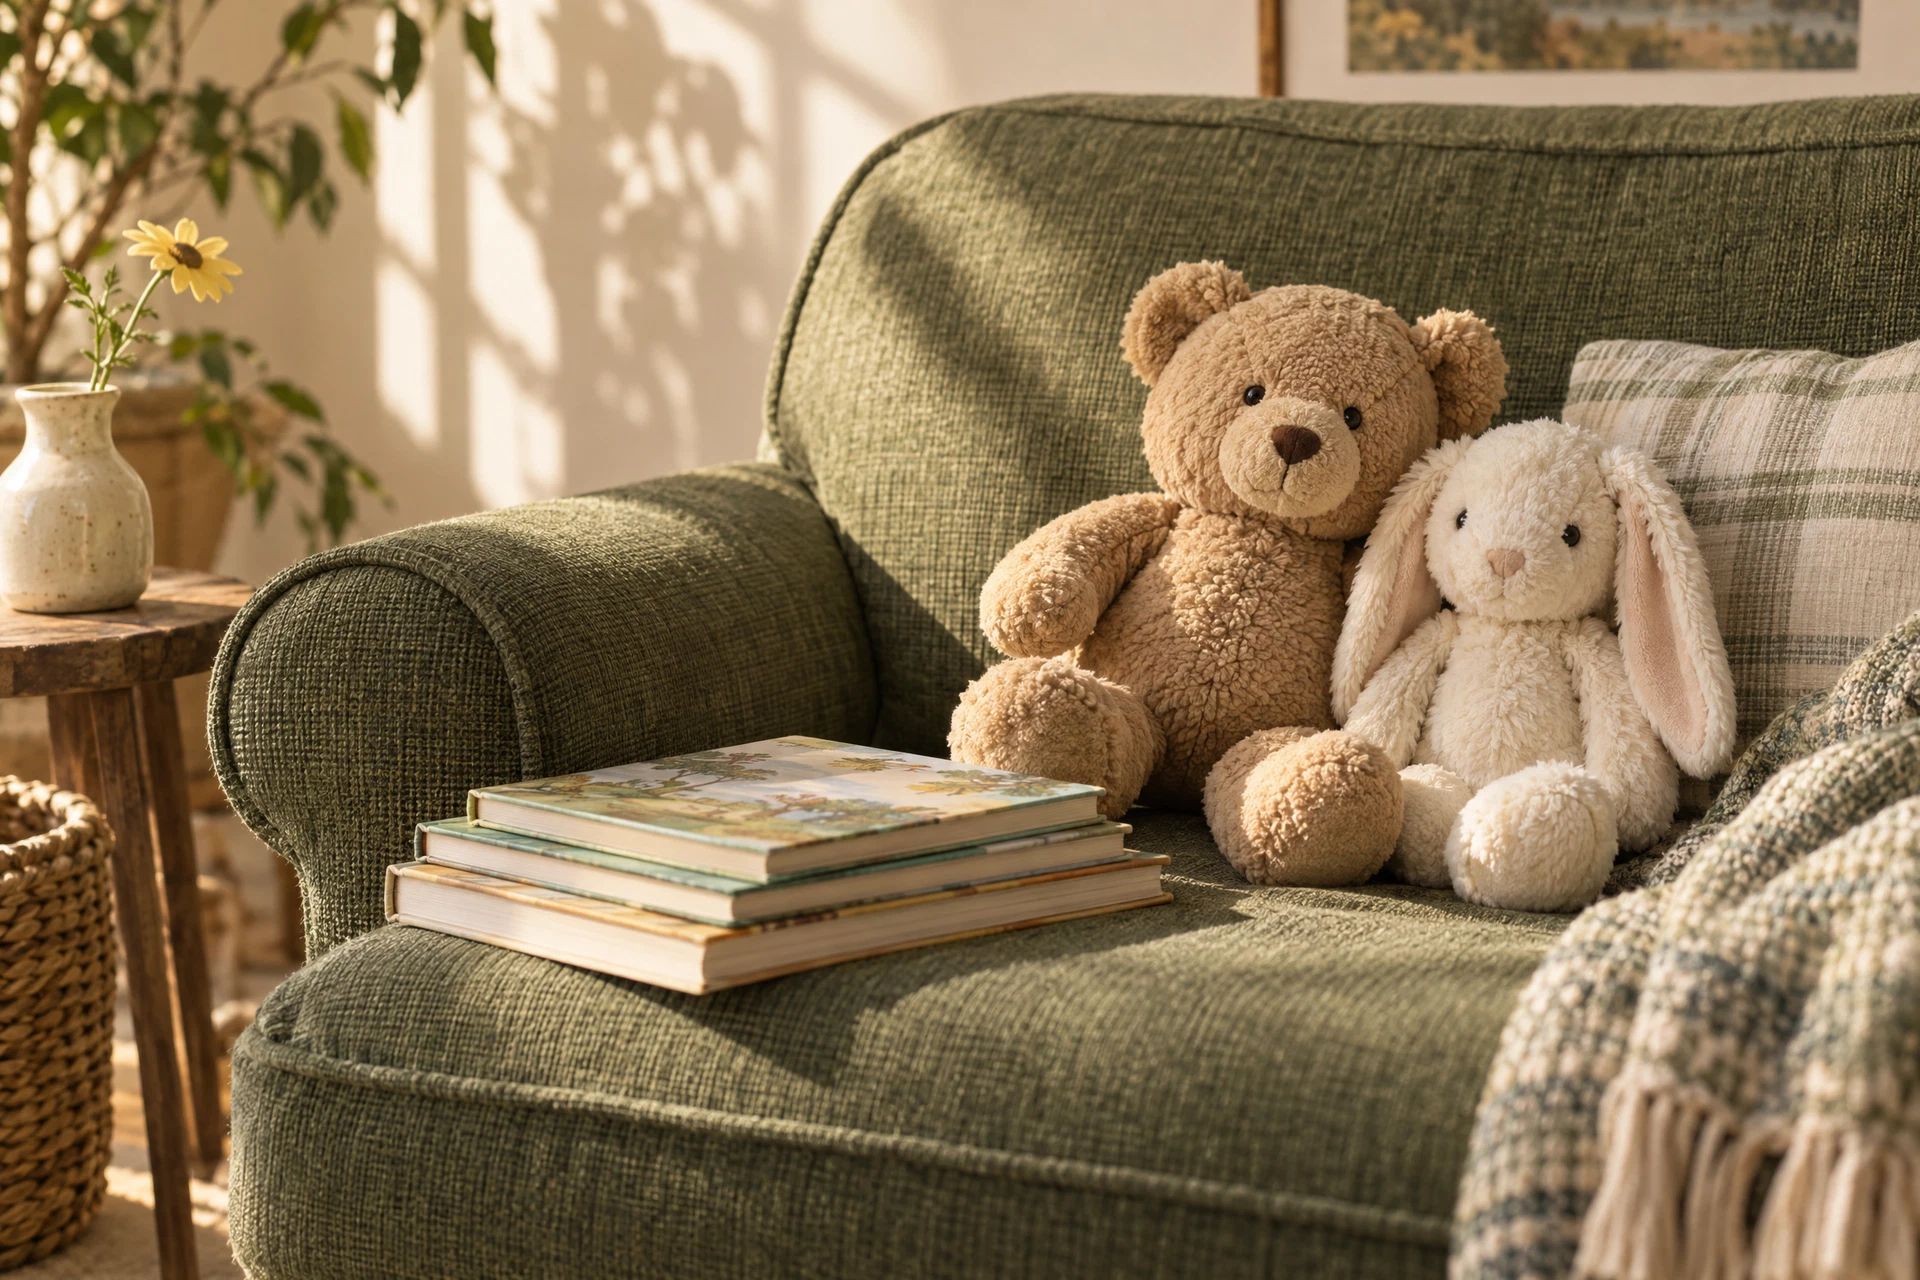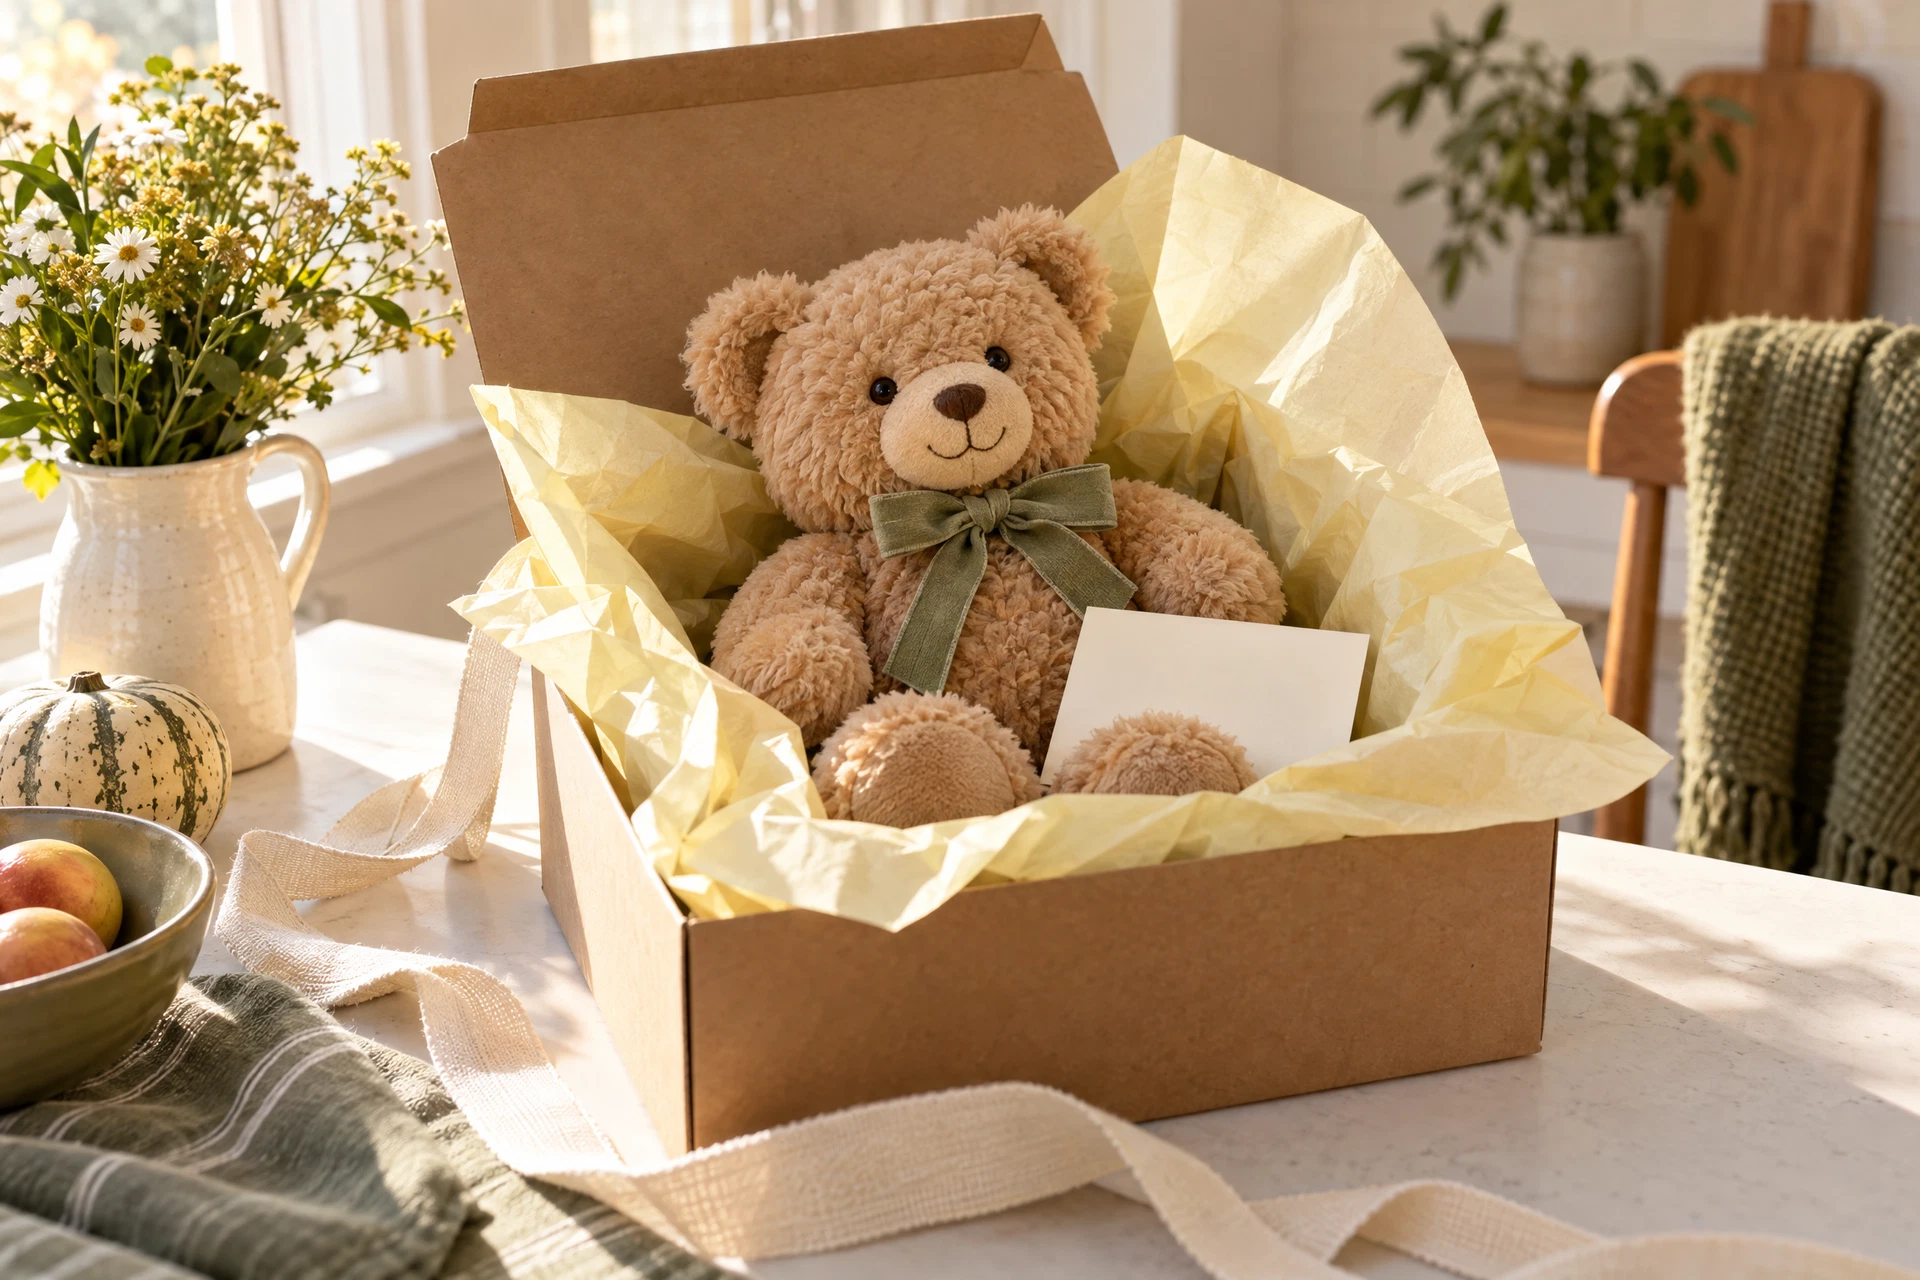
A well-crafted plush gift basket is more than a handful of soft toys in a container. It communicates thoughtfulness through a curated mix of characters, textures and practical choices that suit the recipient and the occasion. This guide narrows the process into clear decisions so you can produce a basket that looks intentional and arrives ready to enjoy.
Start by choosing a central theme and three practical constraints—size, budget, and intended use—and then layer in texture, color, and function. Below are specific sections that cover theme selection, size and scale, material and care considerations, filler and presentation, where to buy, common mistakes to avoid, and a compact example you can replicate in about 30 minutes.
Pick a clear, workable theme
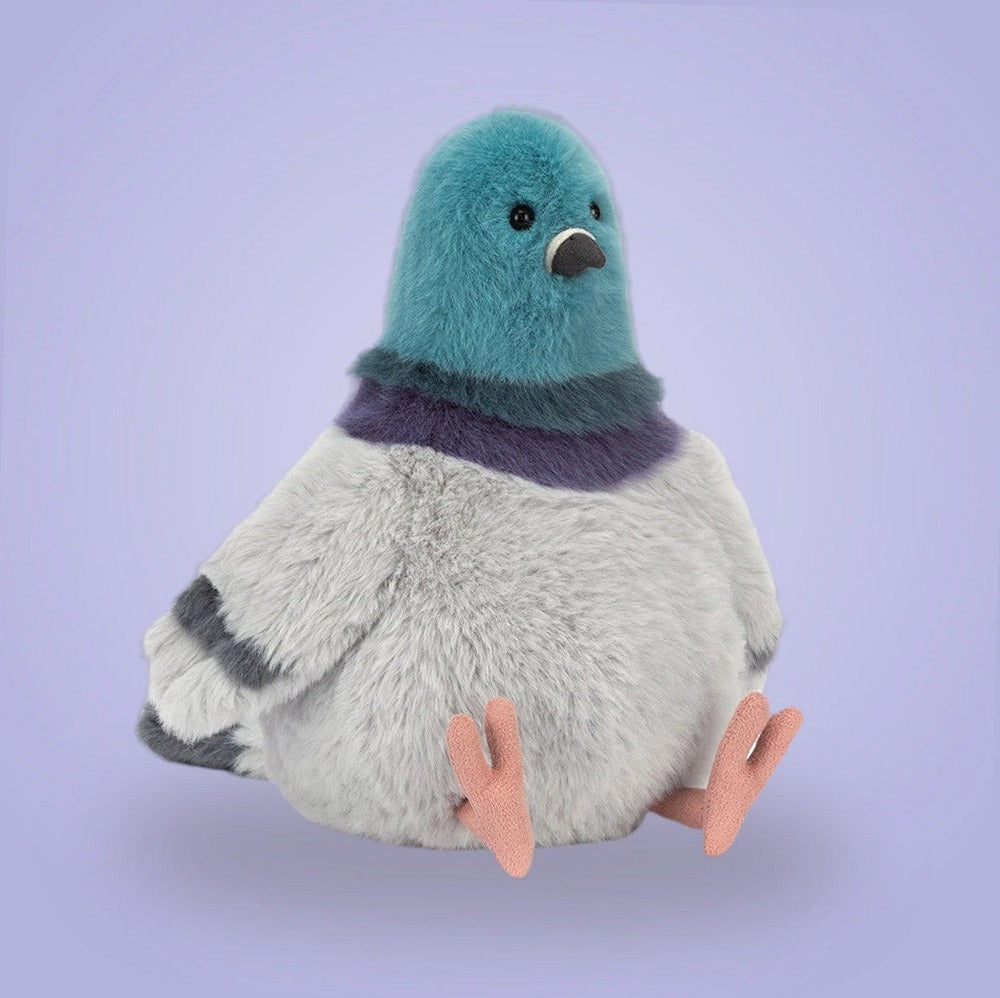
A theme anchors every selection and gives the basket instant coherence. Use one strong idea—an animal motif, a color palette, a hobby, or an occasion—and let it guide choices for each item. For example, an animal theme could focus on woodland creatures or sea animals; that lets you mix multiple plush sizes without the result feeling random.
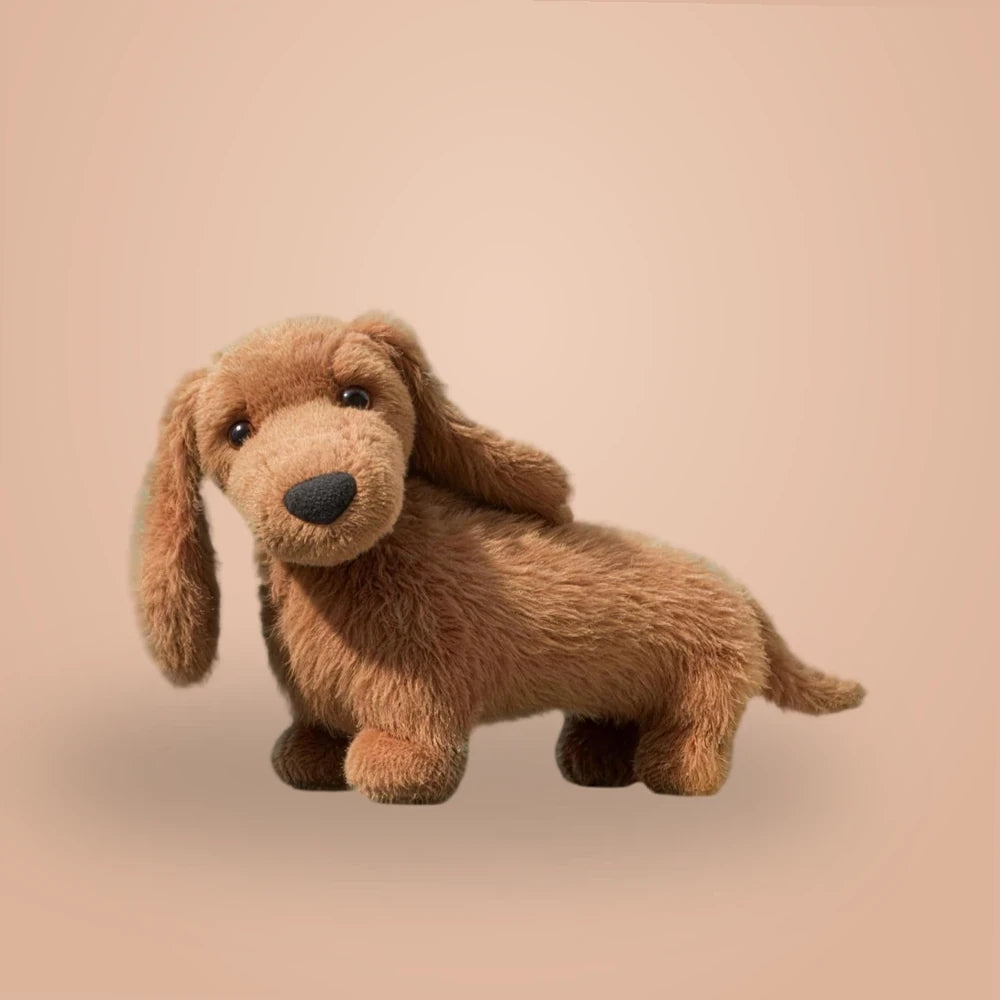
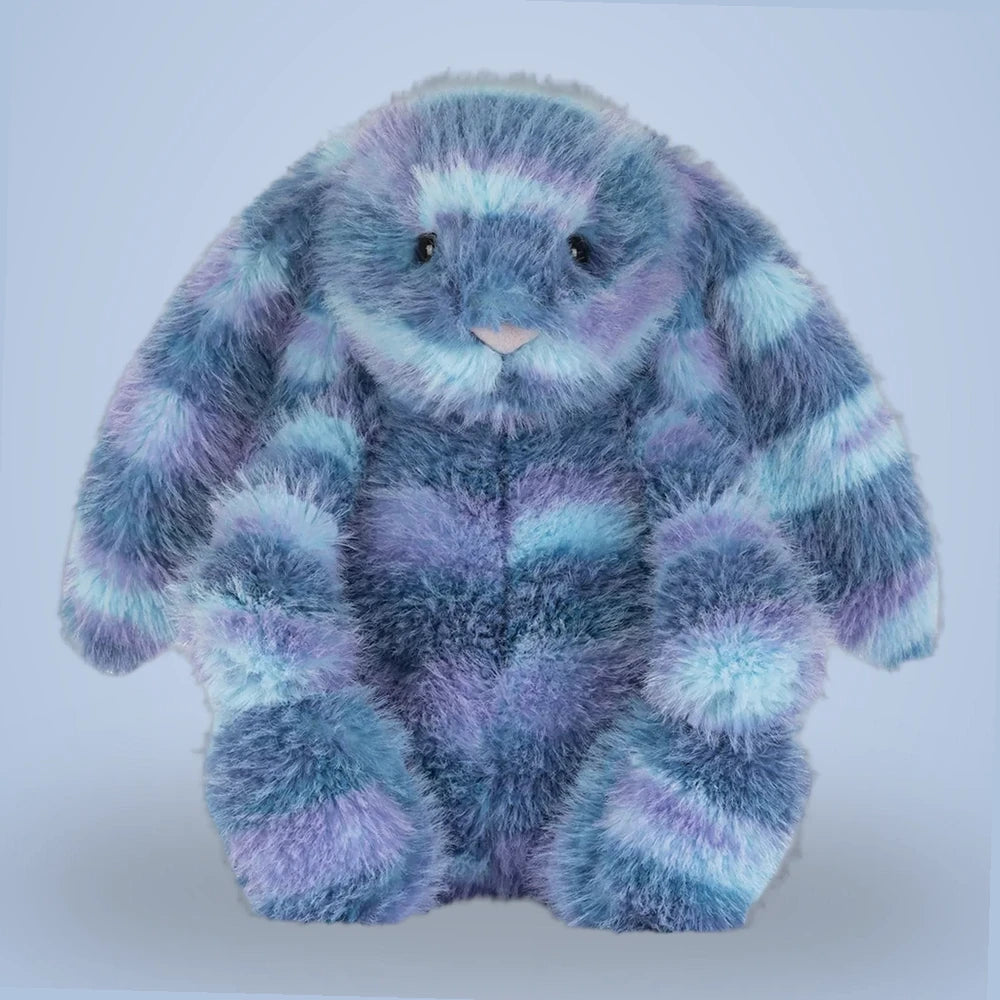
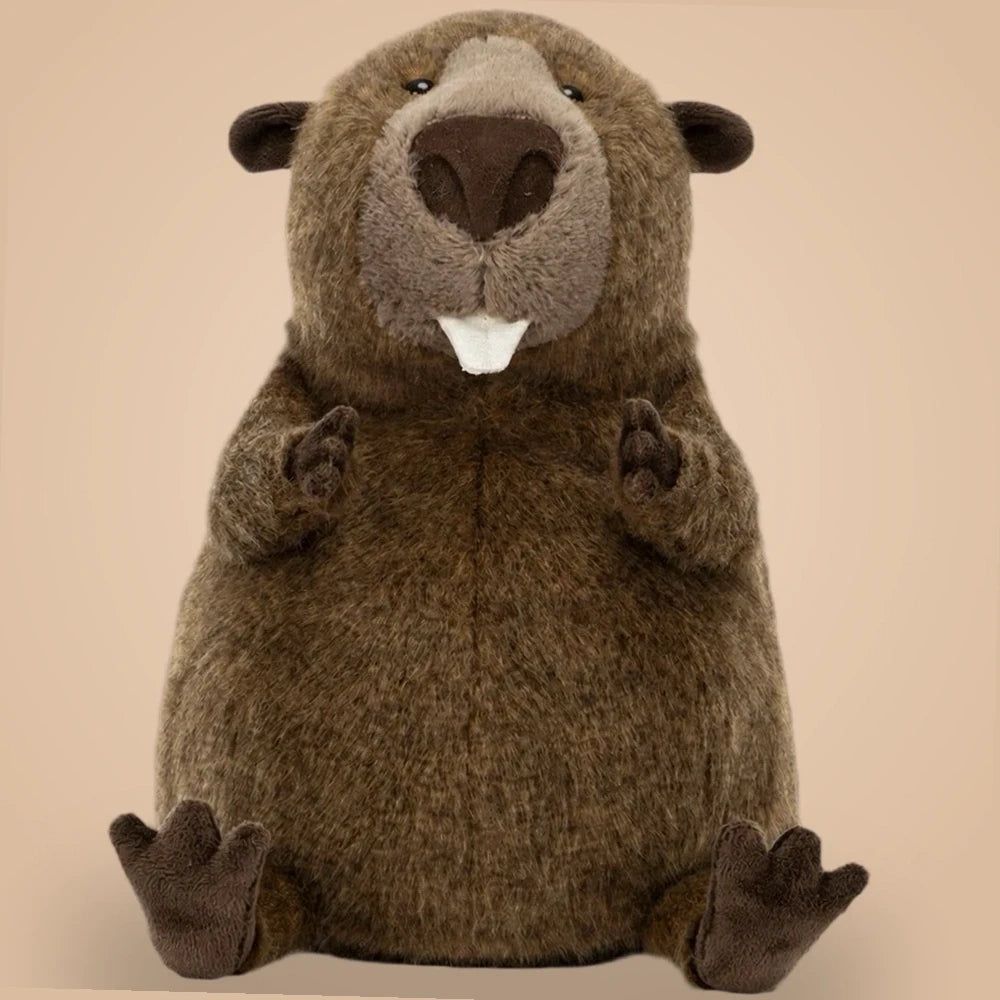
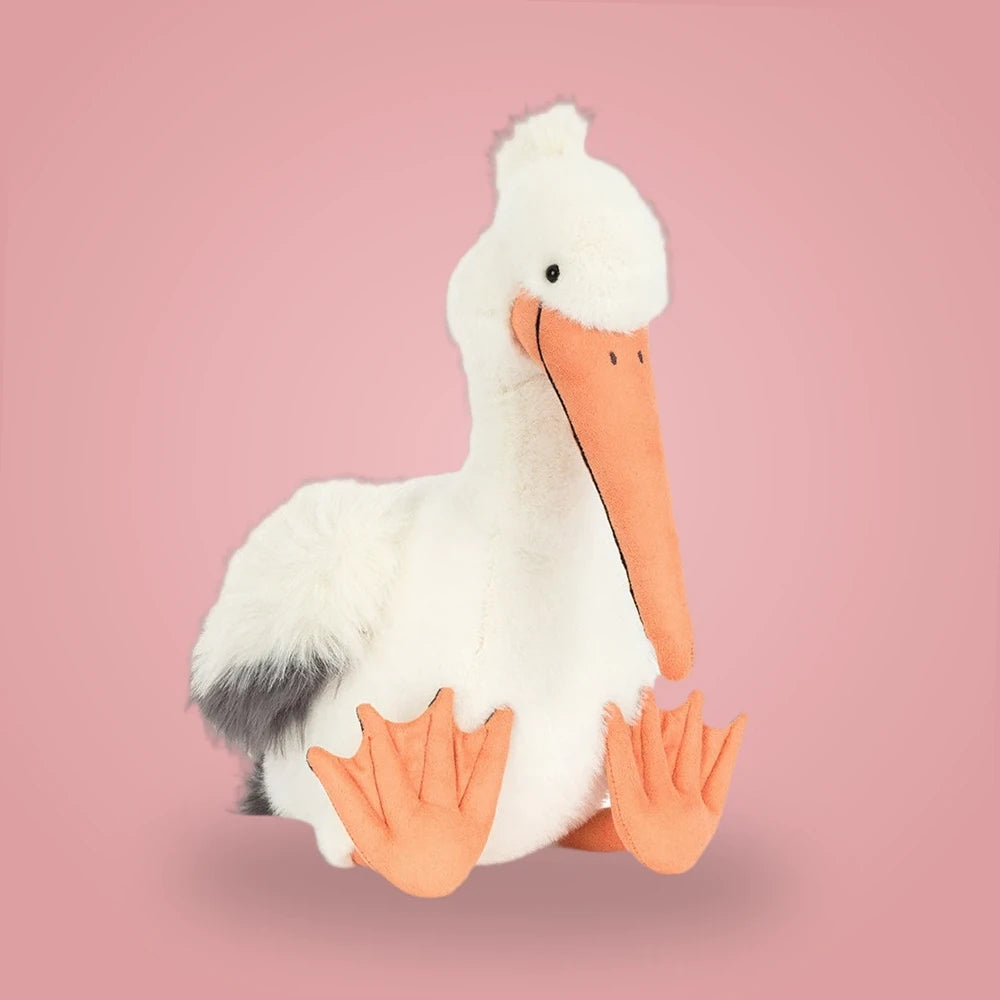
When deciding, weigh two criteria: the recipient’s preferences (favorite animal, color, or activity) and the setting where the basket will be displayed. A basket intended for an office desk should include smaller items and muted colors, while a gift for a child’s playroom can be louder and include larger plush pieces. If you need product options, browse a themed selection such as the animal options on the Animal Friends collection for inspiration.
Balance size and scale
Proportion prevents a basket from looking top-heavy or underfilled. Choose one focal plush in a medium-to-large size, two secondary mid-size pieces, and one or two small accessories. This 1–2–1 distribution creates visual rhythm and fills space efficiently. Keep scale consistent with the container: a deep wicker basket can handle a larger focal piece, while a shallow tray benefits from several small items.
Consider how the basket will be transported and displayed. If it needs to be carried, avoid a very heavy or oversized focal plush. If it’s decorative, place the focal item slightly off-center and surround it with the smaller companions to create a casual, intentional look. A quick checklist: focal piece, 2–3 supporting plush, 1–3 small extras (keychain, mini plush, tag).
Mix textures and materials thoughtfully
Texture variety keeps a plush basket tactilely interesting. Combine smooth microplush with short-pile and one or two items in a different material like corduroy, minky dots, or a knit accent. This contrast makes each piece stand out while still reading as a group. Avoid combining too many materials that require conflicting care instructions; simplicity in fabric choices helps with later maintenance.
When selecting materials, check each item’s care label before finalizing the basket. If you plan to include a care card, list any special instructions. For plush items with delicate trims (beads, ribbons), place them toward the top or tuck fragile pieces into protective tissue so they aren’t crushed in transit.
Choose filler and structural supports that suit the look
Filler does more than bulk up the basket; it sets the tone. Use shredded paper in neutral tones for rustic presentation, colored crinkle paper for playful looks, or lightweight foam inserts if you need extra support during shipping. For a cleaner, modern aesthetic, layer a soft cloth or small blanket at the base and arrange plush on top.
When assembly needs durability—mailed gifts or long displays—add hidden supports such as a lightweight foam ring or zip ties that are not visible but keep items upright. For a boutique presentation, hide filler under a layer of tissue or faux grass so only the plush peeks through. Keep a small hand-tape and scissors kit handy to fluff or reposition filler as you work.
Add functional or themed extras
Extras should reinforce the theme or add utility. Think of accessories like a small storybook that matches an animal theme, a custom gift tag, a matching keychain, or a soft hand blanket. These extras make the basket feel complete and offer more than visual appeal—something to read, carry, or use.
When adding extras, maintain the size hierarchy so small items don’t get lost. Attach tiny extras to the larger plush with a removable ribbon loop or tuck them into pockets formed by the filler. Keep gift contents removable and accessible—avoid permanently fixing extras unless you’re creating a decorative display that won’t be unpacked.
Presentation: wrapping, ribbon and labeling
How you present a plush basket changes the perceived value. Clear cellophane wrap shows the contents while protecting them; a loose fabric wrap creates a softer, more tactile reveal. Choose ribbons and tags that match the theme and secure them in a way that won’t crush the plush—use bow placement at the handle or the front edge rather than over the center of the display.
Labeling is both decorative and practical. A small card with the recipient’s name and a brief note adds personality; a printed tag can identify any special care instructions you want the recipient to notice. If you ship the basket, attach a separate packing slip outside the wrapped area and cushion the basket inside the shipping box so the outer wrap remains intact.
Common mistakes and how to avoid them
A frequent mistake is overfilling with too many small items; the basket then looks cluttered and the focal plush becomes lost. Stick to the size hierarchy and remove items that don’t add to the theme. Another error is using incompatible materials with different care needs—this can confuse recipients. When in doubt, prioritize easy-care pieces and include care guidance from the label.
Poor structural planning leads to crushed or sagging displays. Use a stable container and consider internal support for taller pieces. Avoid adhesives that can damage fabric—opt for removable fasteners. Finally, neglecting transport needs results in a basket that looks great in-store but arrives damaged; pack with shipping in mind if the basket won’t be hand-delivered.
Where to source plush and extras
Buyers should compare local craft shops, boutique suppliers, and online retailers to find pieces that match the theme and quality level desired. Check product pages for size photos and care labels before committing. If you plan to make multiple baskets for resale or events, investigate bulk options on a dedicated page like wholesale inquiries to compare pricing and minimums.
Consider mixing sourcing channels: a local artisan for a signature piece, an online shop for supporting plush, and craft stores for filler and ribbon. If you need to ask questions before purchasing, use a contact option—many vendors have a direct message form such as the contact page so you can confirm availability and lead times.
A small, actionable example to assemble in 30 minutes
Quick example: choose a woodland theme. Gather a medium fox plush as your focal piece, two smaller squirrel and hedgehog plush, a tiny knitted mushroom keychain, a soft flannel square, and neutral shredded paper. Use a shallow woven basket sized for a medium plush. This selection follows the 1–2–1 size rule and keeps textures complementary—short pile and knit.
Assembly steps: 1) Line the basket with the flannel square so edges drape slightly over the rim; 2) Add a base layer of shredded paper to build height; 3) Position the fox slightly off-center; 4) Arrange the squirrels and hedgehog around it with the mushroom keychain visible at the front; 5) Finish with a simple ribbon around the handle and a handwritten tag. For care specifics, check each item’s label before including care instructions in the tag and refer buyers to product care details on our care guide if you need more information.
Explore the details before choosing
Take a closer look at Animal Friends, review our plush and clothing care guidance, or ask about specifications and availability before making an order request.