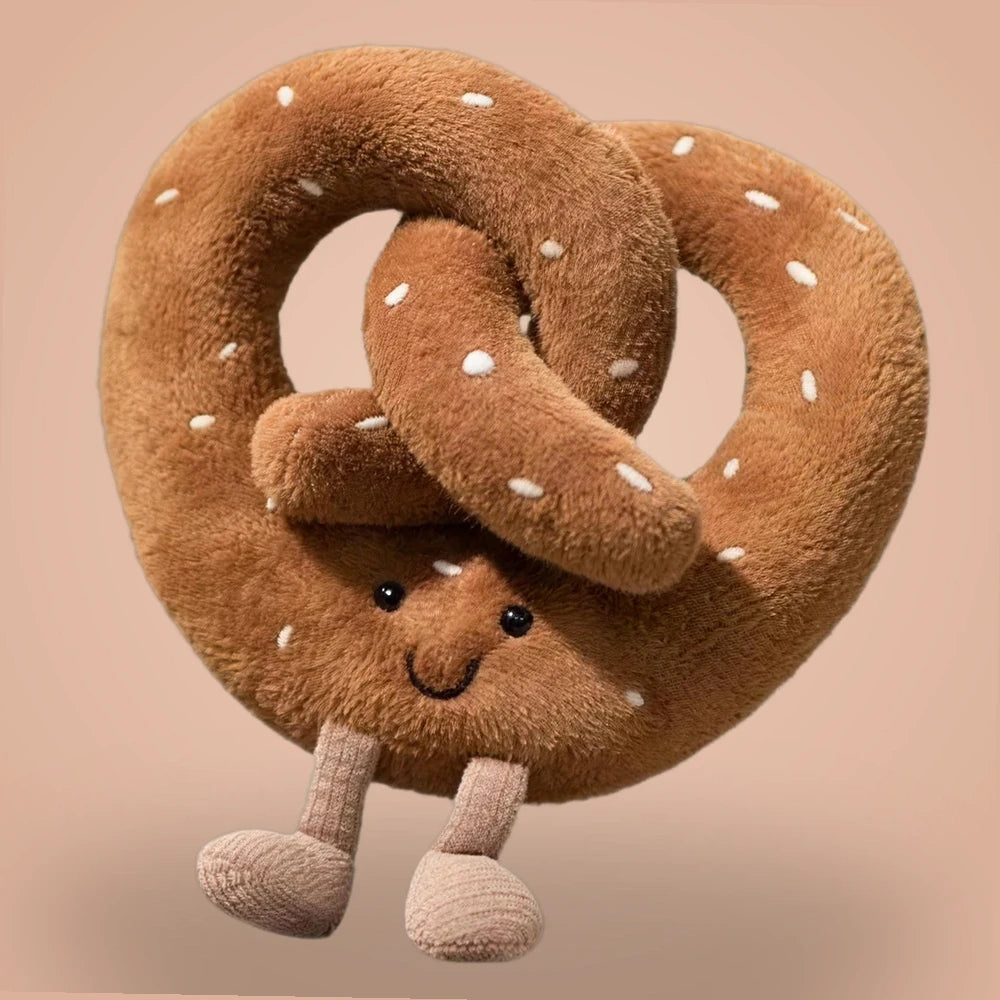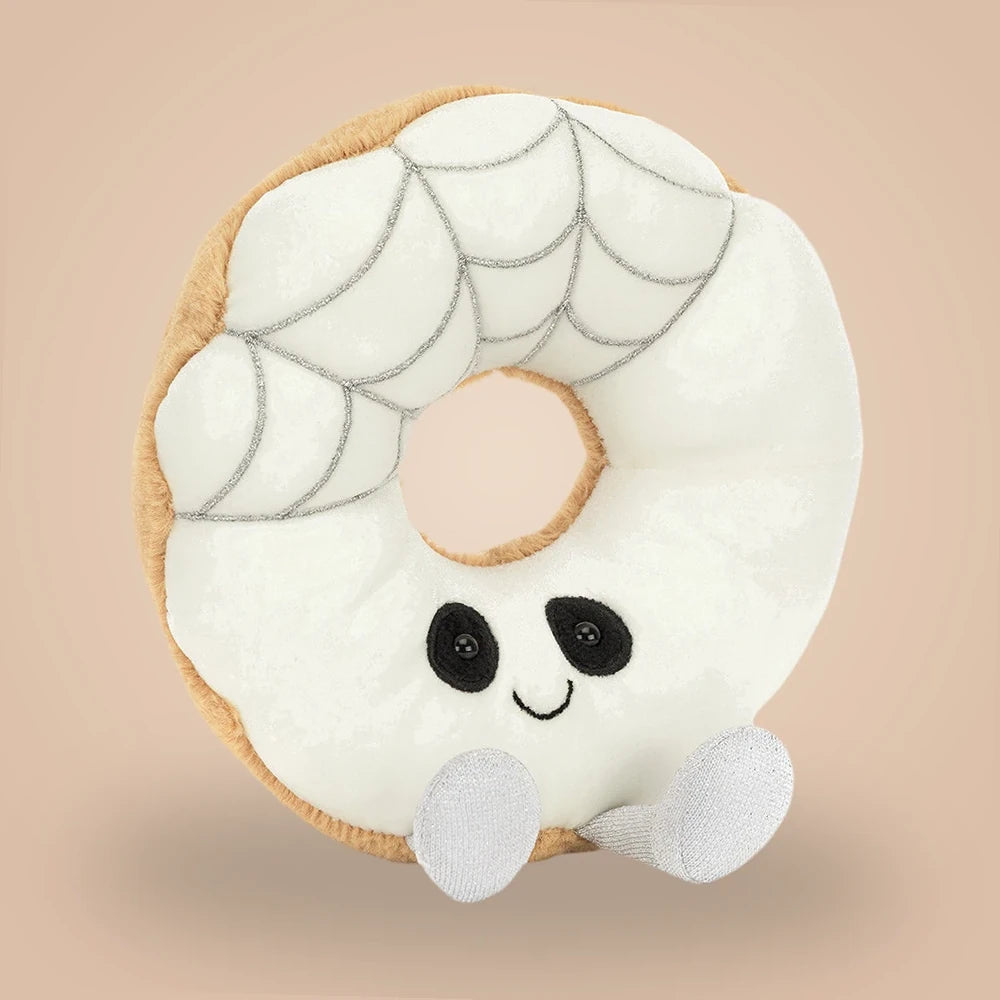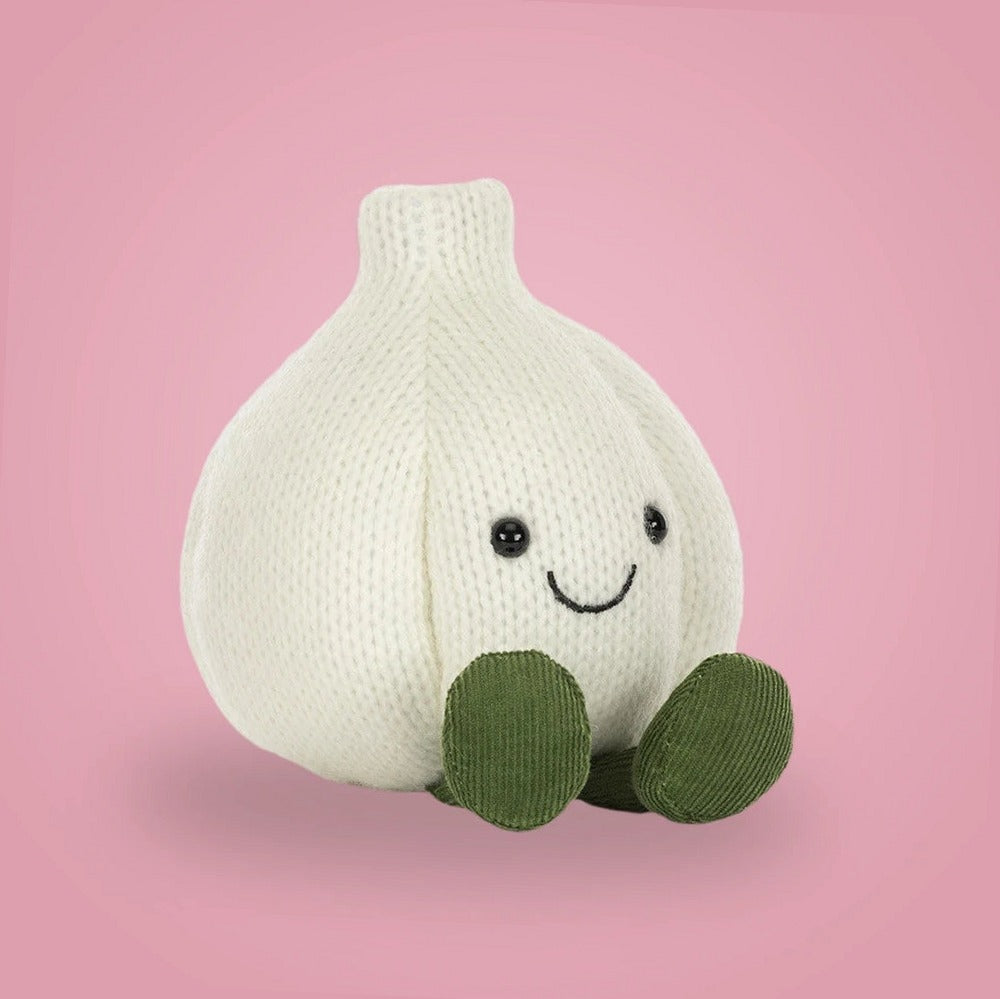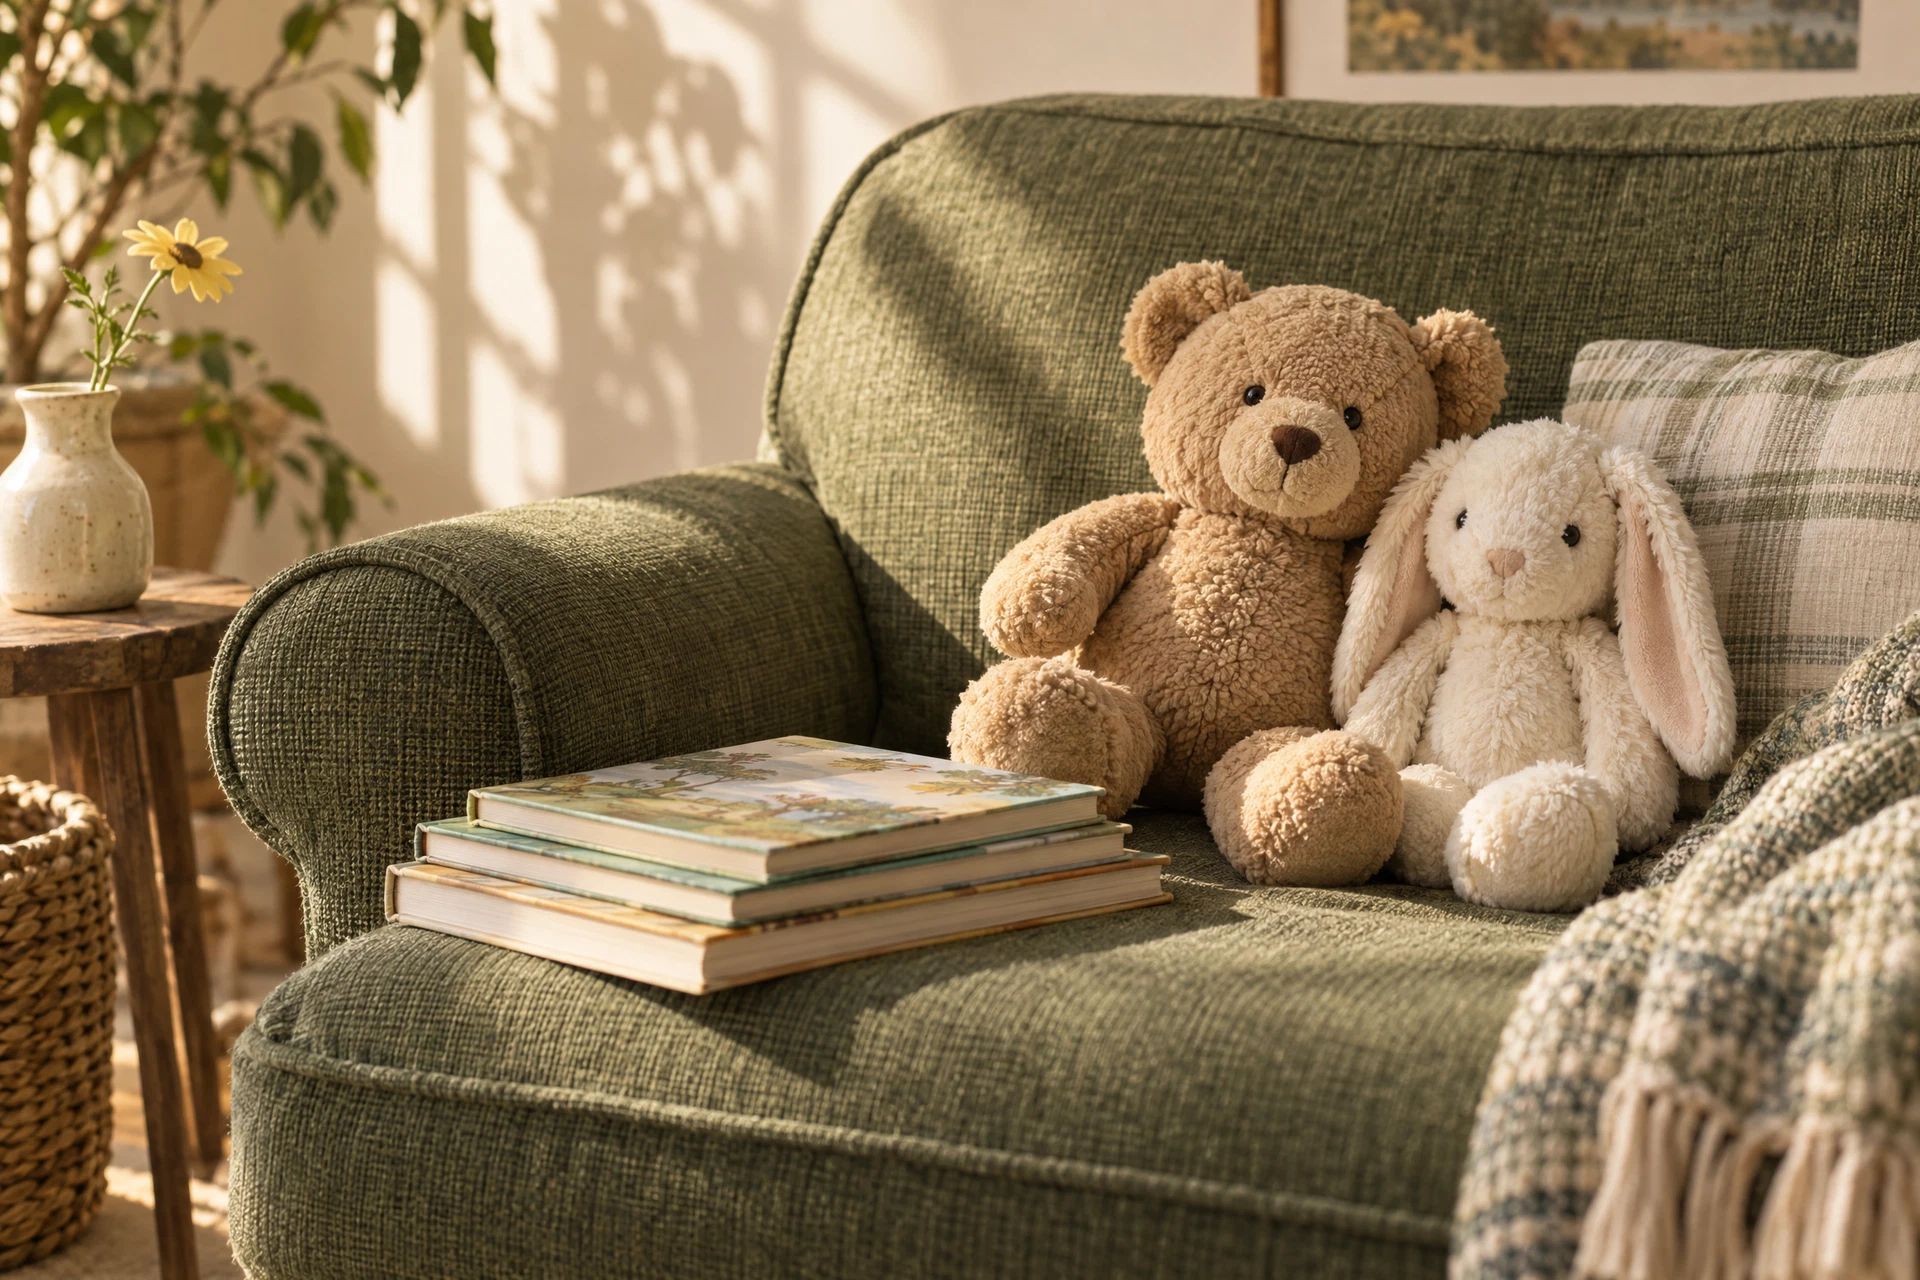
Retailers who organize plush primarily by size miss an opportunity to create emotional resonance and clearer buying paths. Grouping stuffed animals and soft toys by theme—such as 'bedtime friends', 'food pals', or 'local wildlife'—helps customers scan for intent rather than compare measurements. Themes let you curate micro-collections that tell a story, cross-sell with non-plush items, and simplify visual merchandising decisions on shelf, table, and endcap.
This article focuses narrowly on how to plan, execute, and maintain theme-first plush merchandising. You’ll find practical decision criteria for choosing themes, common layout mistakes to avoid, and a small, actionable example you can implement in a weekend. Where relevant, I link to additional resources like a curated food-themed collection at the Food Friends collection, product care basics at our care guide, and wholesale inquiries at wholesale inquiries so you can follow up on sourcing and maintenance questions.
Why theme-based displays sell better than size-based racks
People come to a plush display with an emotional need—comfort, giftability, humor—not a tape measure. A theme-based presentation aligns with that intent: a 'new baby' cluster, a 'travel buddies' shelf, or a 'seasonal characters' feature makes choice faster. The result is often shorter browsing time, higher add-on rates (customers select a themed card or small accessory), and clearer staff guidance when restocking or recommending.
Decision checklist: Sort your inventory by likely purchase intent first (gift, keepsake, toy), then by theme. Track sales by themed group for 4–8 weeks and compare conversion rates versus previous size-based groupings. Common mistake: assuming all small plush belong on a dedicated small-items table; instead, ask whether those items fit a theme that can be paired with complementary SKUs like books or headbands.
Choosing themes that match your store's personality
Not every theme works in every environment. Independent boutiques may favor artisan or handcrafted themes, while museum shops lean toward local wildlife or exhibit ties. Use customer demographics, local events, and your existing non-plush assortment as criteria: what themes will pair naturally with jewelry, homewares, or kids’ books you already sell?
Practical idea: Build a short internal rubric—three questions to vet a theme: 1) Does it align with our core customer? 2) Can we pair at least two non-plush items with it? 3) Is it seasonally relevant or evergreen? If two of the three answers are yes, it’s a candidate. Avoid the common mistake of forcing a trendy theme that cannot be supported by complementary products or storytelling.
Creating visual hierarchy within a theme
Within each theme, establish a clear focal point so shoppers understand the collection at a glance. Use a hero plush (larger, uniquely posed, or on a riser), anchor signage with short copy, and 2–3 supporting sizes or styles arranged by eye-level importance. Alternate textures and colors to maintain interest but keep the palette coherent so the group reads as one unit.
Checklist for setup: pick one hero item, two supporting styles, and one accessory or impulse add-on (gift wrap, keychain, small book). Common mistake: filling a themed table with too many unrelated characters; it dilutes the message. Keep a 60/30/10 rule—60% core hero-type items, 30% variety within the theme, 10% novelty or clearance pieces.
Cross-merchandising: pairing plush with non-plush categories
Themed plush displays offer natural cross-sell paths: pair 'bedtime friends' with blankets and nightlights, link 'food pals' to kitchen towels or novelty mugs, or place 'local wildlife' plush near field guides or postcards. This extends basket value and helps customers gather a complete gift in one trip.
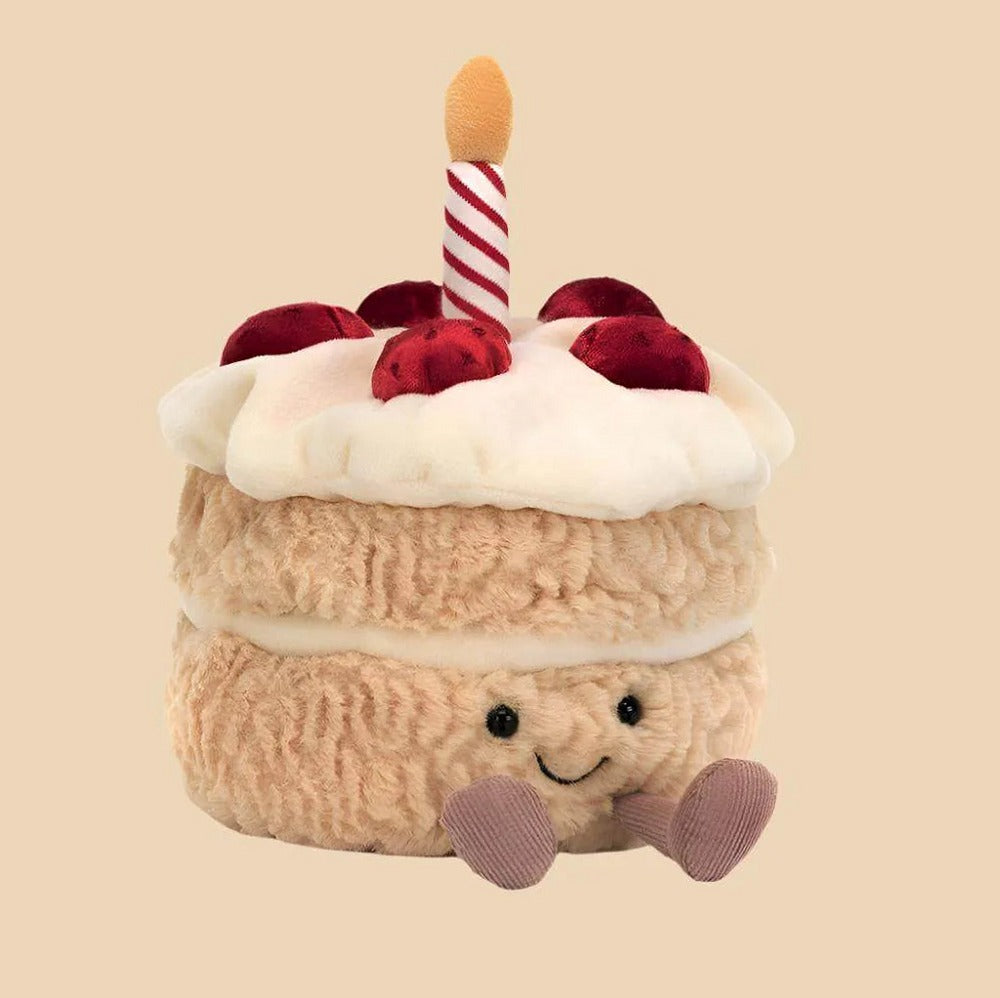
Concrete example: a 'food friends' mini-display can sit beside a wall of tea towels and small ceramic bowls. Arrange one plush per towel stack and include a small sign suggesting combinations (e.g., 'tea towel + plush = hostess gift'). For sourcing ideas or to expand a food-based assortment, consider exploring curated selections at the Food Friends collection.
Inventory planning and replenishment by theme
Shift inventory reports to track themed performance rather than size tiers. Create theme-level par levels: identify fast-sellers within each theme and set reorder points using turnover rates from the last quarter. This simplifies purchasing decisions and reduces overstock of unthemed items that often languish in a size-based system.
Decision criteria to set par levels: sales velocity, seasonal demand, and available display space. Common mistake: keeping equal stock counts across all themes; instead, allocate more hands-on space and inventory to your top three performing themes and rotate secondary themes monthly to test demand.
Seasonal themes and limited-time events
Seasonal themes—holidays, summer travel, back-to-school—are ideal for testing new thematic directions because they give urgency and a natural refresh cadence. Use seasonal windows to trial themes that might become permanent: introduce a 'camping pals' theme in summer as a limited run and track sell-through and customer feedback.
Actionable setup: create a pop-up zone with bright signage and a countdown for the seasonal window; display one new item, two crowd-pleasers, and one themed accessory. After the period, analyze which SKUs to fold into evergreen themed displays or discontinue. Common mistake: reusing the same fixtures without changing the visual language—seasonal themes require distinct color cues or props to feel fresh.
Customer navigation, signage, and messaging
Clear signage is essential for theme merchandising. Use short, benefit-led headlines: 'Bedtime Friends: Cozy Companions for Sleep' rather than ambiguous tags like 'Small Plush'. Add succinct recommendations for recipients—'Great for preschoolers'—but always encourage customers to check the manufacturer's label for age guidance and care instructions.
Practical messaging tips: keep signs below 10 words when possible, include an icon or color code for quick scanning, and place vertical tags at both eye and knee level for different shopper heights. Avoid cluttered signage that lists too many attributes; a simple theme name, one pairing suggestion, and a directional cue to related items (for example, link to a care resource at our care guide) is often enough.
A small, actionable example to implement this weekend
Pick one 4'x2' table or an endcap and develop a single theme to rotate for two weeks. Example: 'Travel Buddies'—choose one hero plush in the center, flank it with two mid-sized companions, add two travel accessories (eye mask, small pouch), and place a small sign reading 'Travel Buddies: soft pals for the road.' Use a neutral backdrop, a small vintage suitcase as a riser, and price tags that suggest combos (e.g., 'buy 2, save $2').
Execution checklist: 1) Clear and clean the surface; 2) Place hero item at center; 3) Arrange supporting items by height; 4) Add cross-merchandise items within arm’s reach; 5) Add one short sign and a pairing suggestion. Measure sales for the next two weeks and compare units per transaction to an equivalent period before the change. If you want wholesale options for scaling themed assortments, contact your supplier or visit wholesale inquiries for next steps.
Explore the details before choosing
Take a closer look at Food Friends, review our plush and clothing care guidance, or ask about specifications and availability before making an order request.